Best Ways to Prevent Bad Breath
October 2nd, 2024
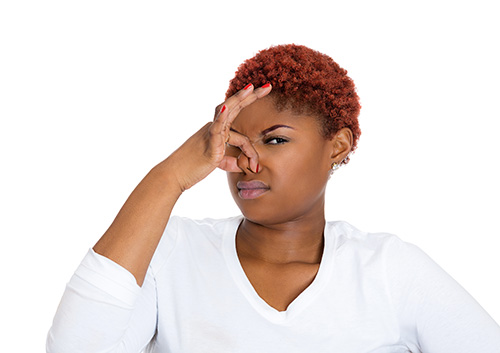
Nobody likes bad breath, and although it can sometimes be difficult to tell if you have it, it is always better to practice good oral health than risk having a smelly mouth. There are many ways to reduce or eliminate bad breath, some are definitely more effective and longer lasting than others. Check out ways to do so below.
Floss Regularly
As difficult as it can be to remember to floss regularly, when it comes to bad breath, flossing is one of the easiest and most cost effective ways to freshen your mouth. See, flossing reduces the plaque and bacteria found in areas of your mouth that a toothbrush simply can't reach, and in turn, it rids your mouth of the smell associated with that bacteria. While flossing may not eliminate bad breath on its own, if you do it along with other health oral hygiene habits like brushing, then you may just develop a fresher smelling mouth.
Use Mouthwash
Using some sort of mouthwash can really freshen up your breath, especially if you find it still smells after brushing and flossing. There is a wide variety of mouthwash products on the market, however, you can also create your own by simply using baking soda mixed with water.
Always Brush after You Sleep
Whether after taking a nap, or having a full night of sleep, you will want to brush your teeth in order to reduce bad breath. The truth is, bacteria accumulates in your mouth while you are sleeping (even during a short nap) and that is ultimately the source of bad breath. So next time you wake from a good slumber, give your mouth some brushing and you will find it makes a big difference in the freshness of your breath.
There are many ways to freshen your breath beyond just using gum or mints, the above mentioned are just a few for you to try. Test them out and you will likely find your bad breath problem is solved, or at least considerably reduced. Of course, you can always ask Drs. Arti and Ashi at your next visit to our Issaquah office.